Recap:
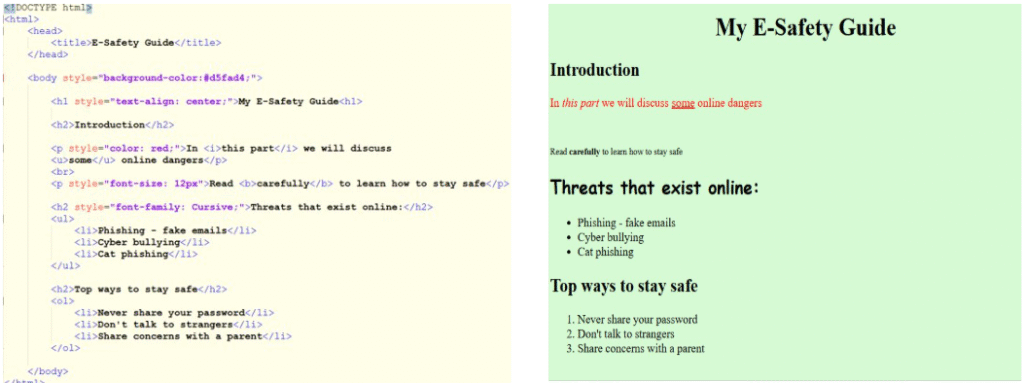
Last lesson we looked at adding styles to our webpage. We should currently have something that looks a bit like the image below:
Adding Images to our page:
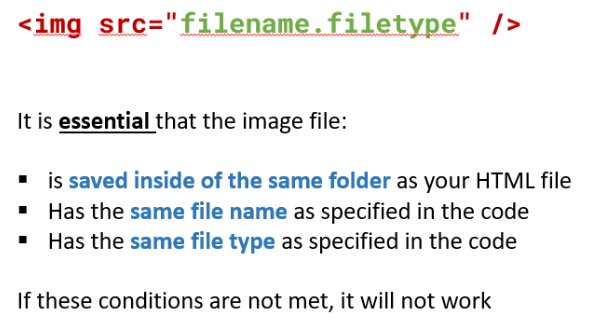
We can add images to our webpage through the use of the image tag. The image tag is the first tag we’ve come across that doesn’t have a closing tag!
Sizing our images:
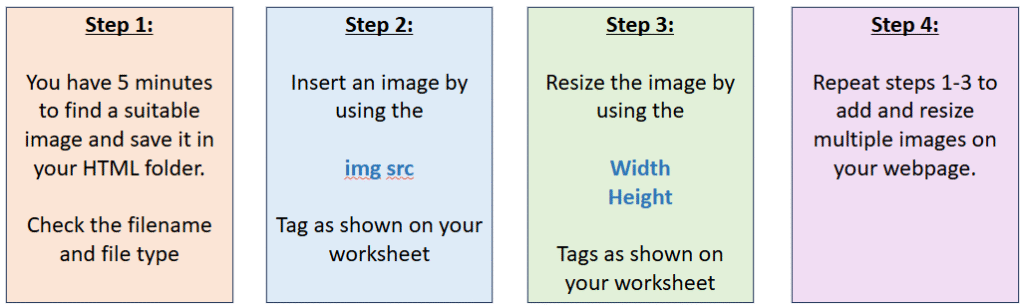
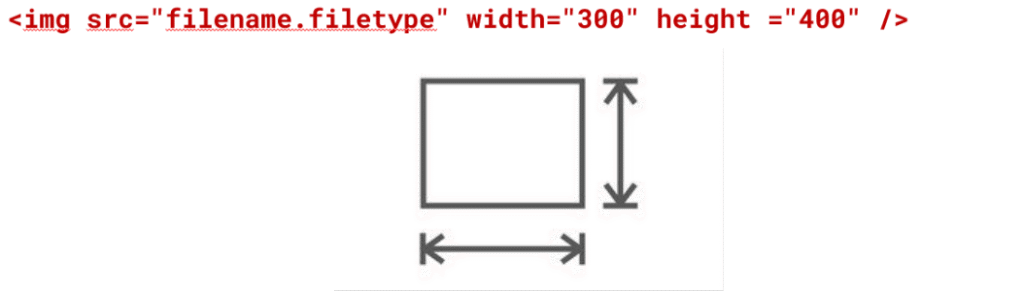
We can adjust the size of our images by adding attributes to the image tag.
The size number can either be in pixel units or percentages
width=”300″ will be 300 pixels wide
width=”50%” will be half the size of the web page.
Putting it all together:
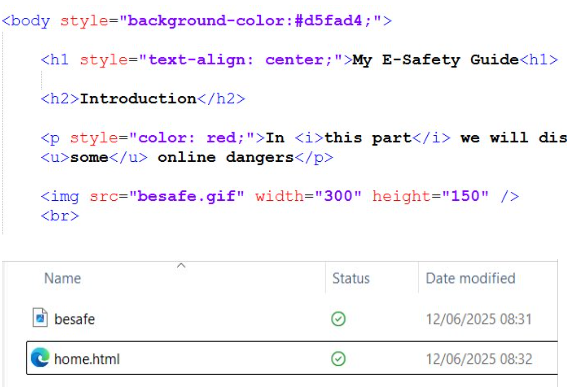
We can add our image tag to our web page in the same way as any other tag. For our image to display properly you must ensure your image file is saved in the same folder as your .html file as shown in the image below.